A step-by-step approach to building portraits with structure, clarity, and light
Struggling with your portraits? You might find my E-book helpful click here
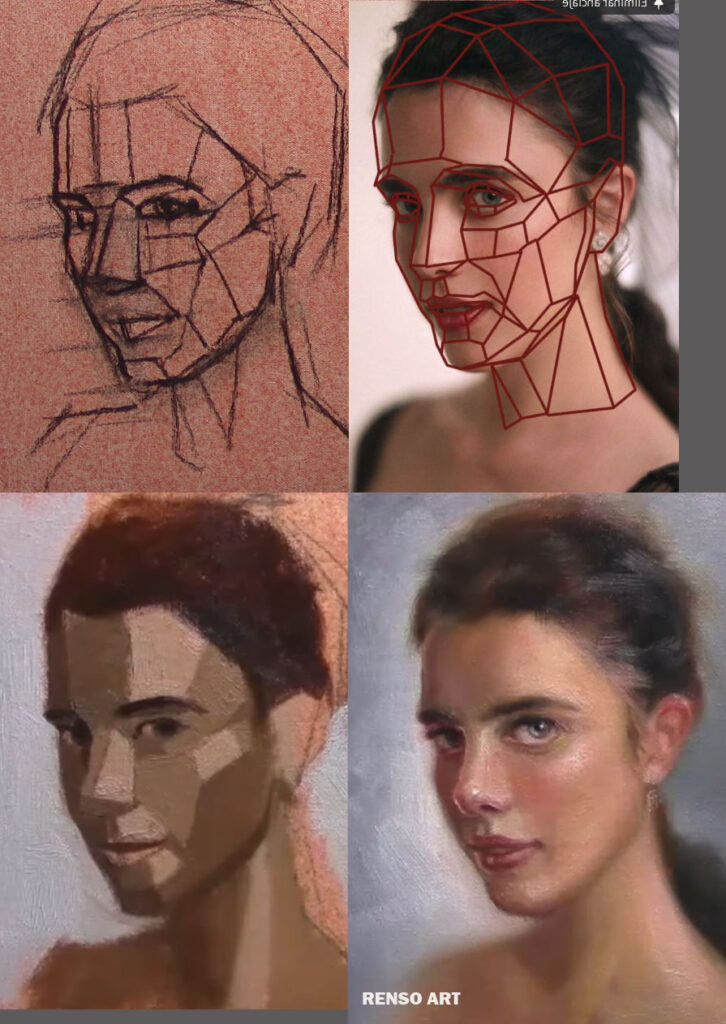
When painting a portrait, it’s tempting to jump straight into the details—the eyes, the mouth, the expression. But focusing too early on those areas can lead to frustration and an unstructured painting. After painting hundreds of portraits, both live and in class, I’ve learned that one of the most powerful tools we have as artists is simplification.
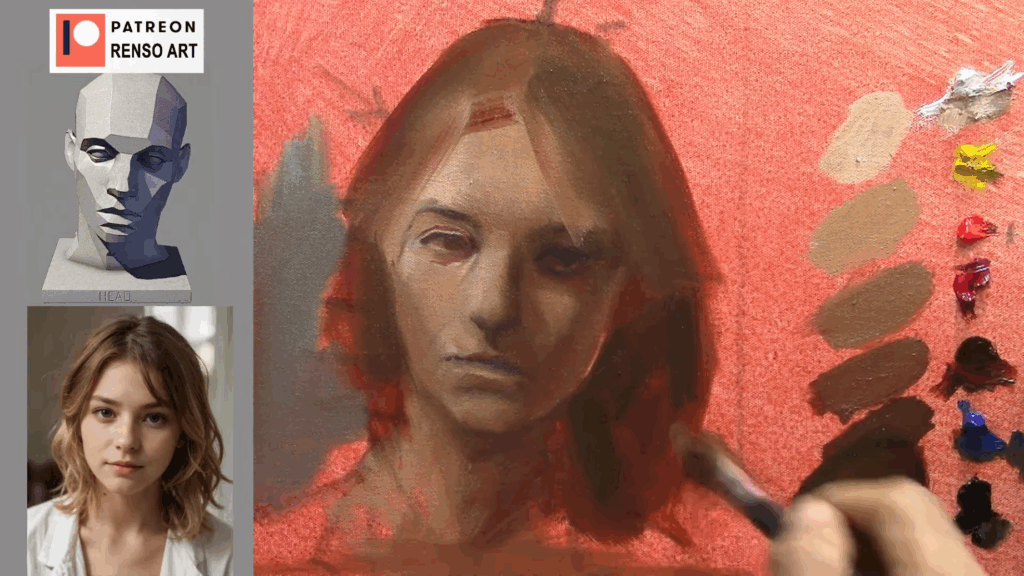
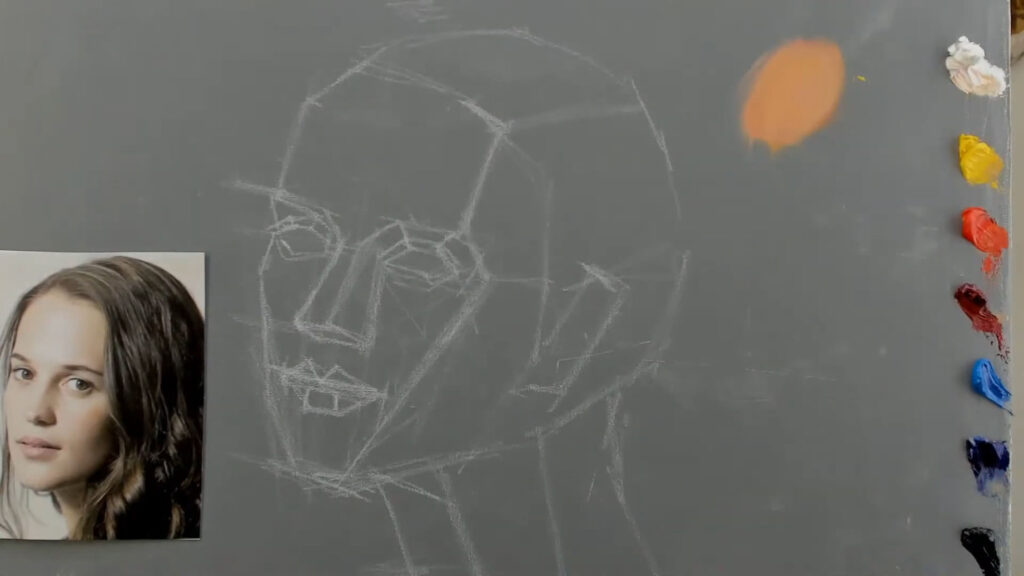
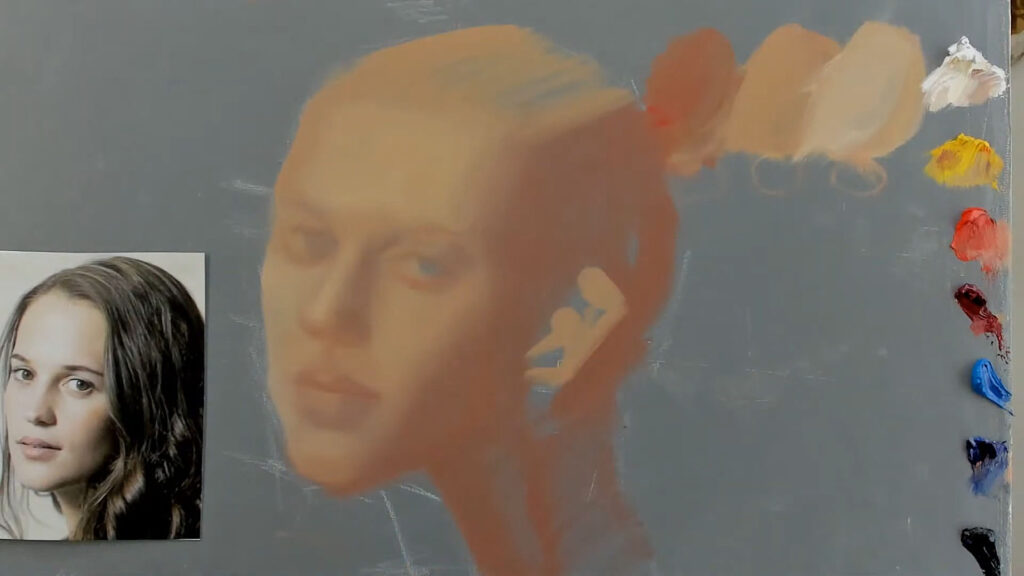
Step One: From Reality to Flat Shapes
At the beginning of any portrait, I start by simplifying what I see into flat, abstract shapes. This means ignoring the small bumps, curves, and subtle variations and focusing only on:
- The outline or contour of the head
- The masses of shadow and light
- The placement of facial features in terms of big shapes
This stage is not about making it look like the person yet—it’s about organizing the visual chaos into something readable and balanced. I often squint or blur my vision to help reduce the complexity and better see the big design of the portrait.
Why start here? Because a good portrait starts with good design. Simplifying to flat shapes allows us to make bold, clear decisions about proportion, placement, and overall structure.
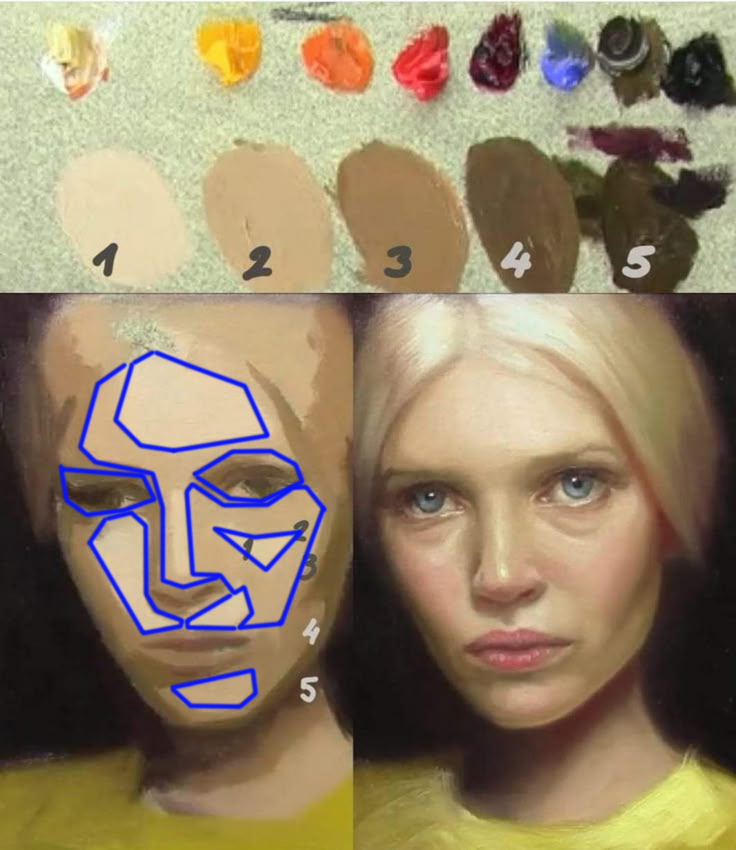
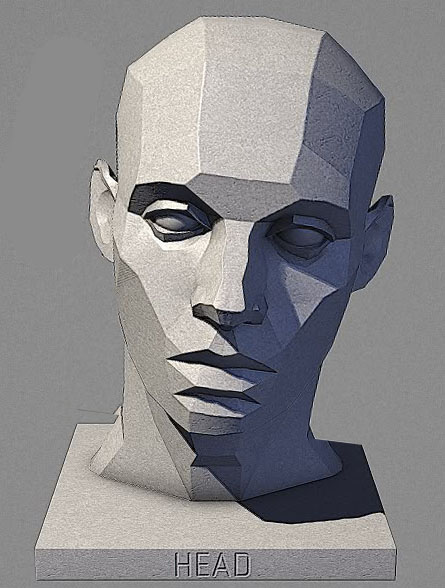
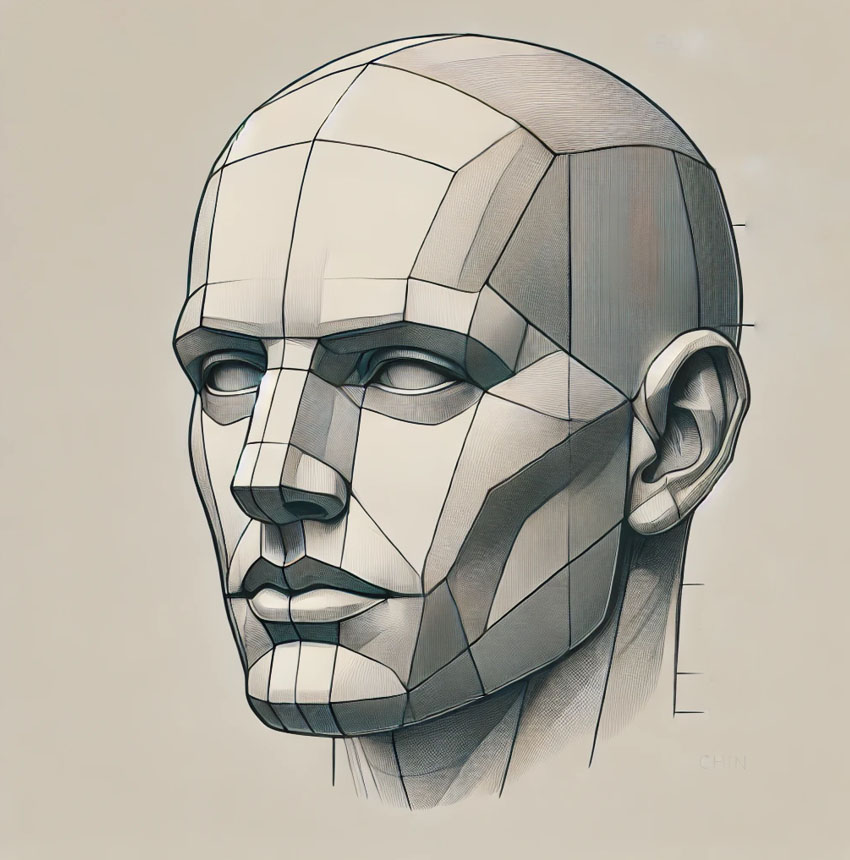
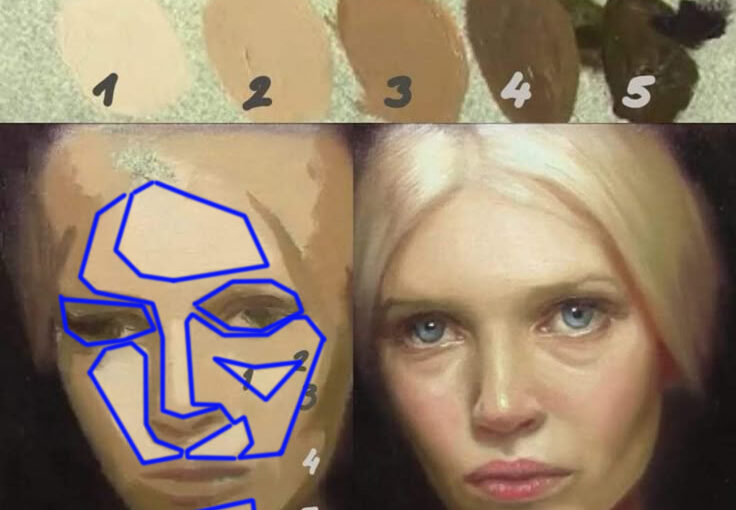
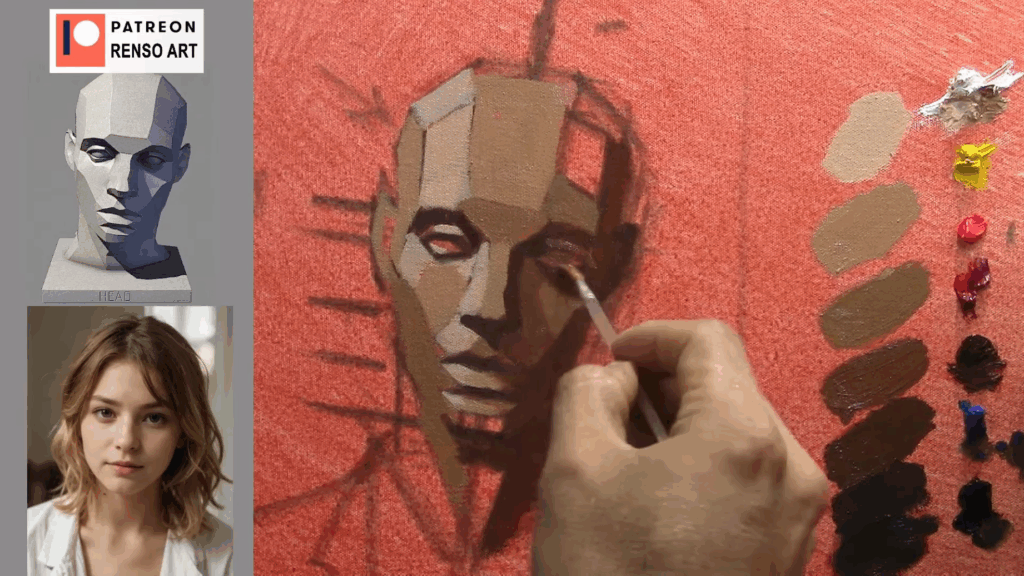
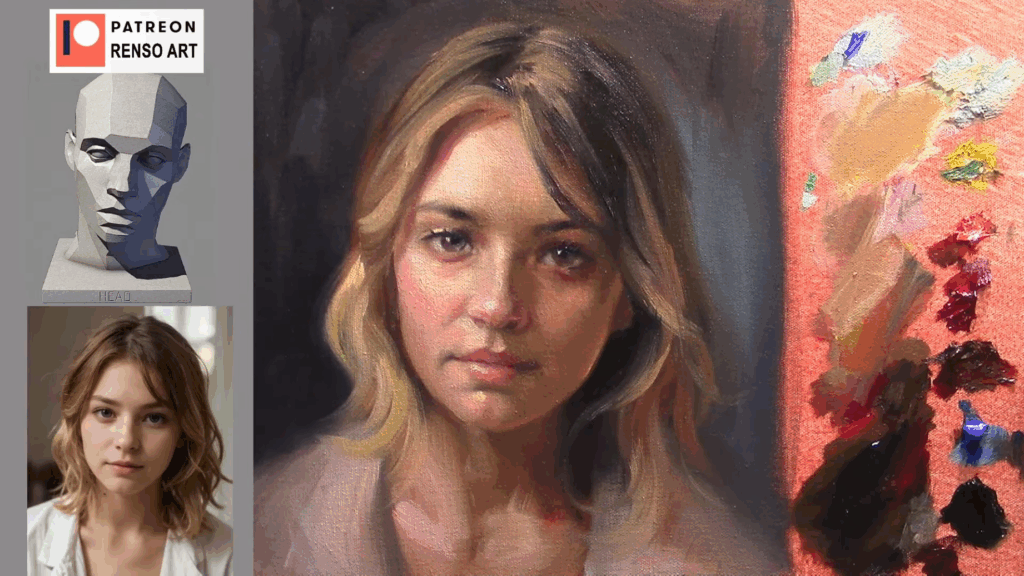
Step Two: Introducing the Planes of the Face
Once the large forms are in place, I begin to break them down into planes—flat surfaces that turn at distinct angles, like the sides of a cube or the facets of a gem. The human face, though organic, can be broken down into major and minor planes that guide how we model light and shadow.
Some key examples:
- The forehead has a top and front plane.
- The nose has front, side, and underside planes.
- The cheekbones form diagonal planes that catch side light.
- The eye sockets recede into shadow, boxed in by the brow and the nose.
Understanding these planes helps us predict where the light will fall, even without perfect reference. When we know that the side plane of the face is turned away from the light, we can darken it. When a plane catches light, we know it deserves a highlight or a lighter value.
The planes are the bridge between structure and light. They are what make the portrait feel three-dimensional and believable.
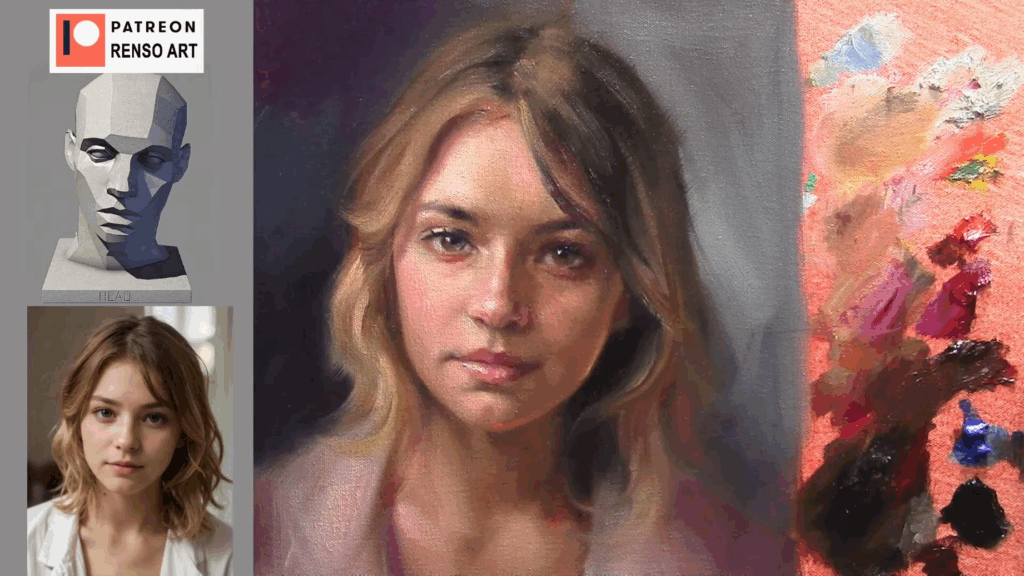
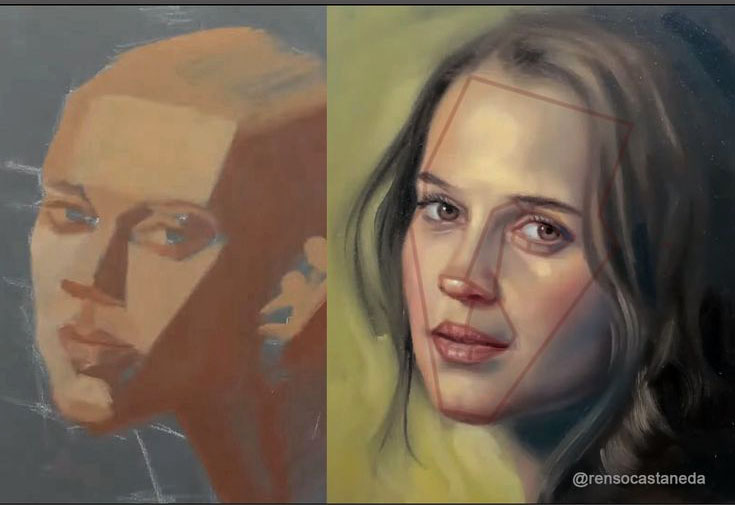
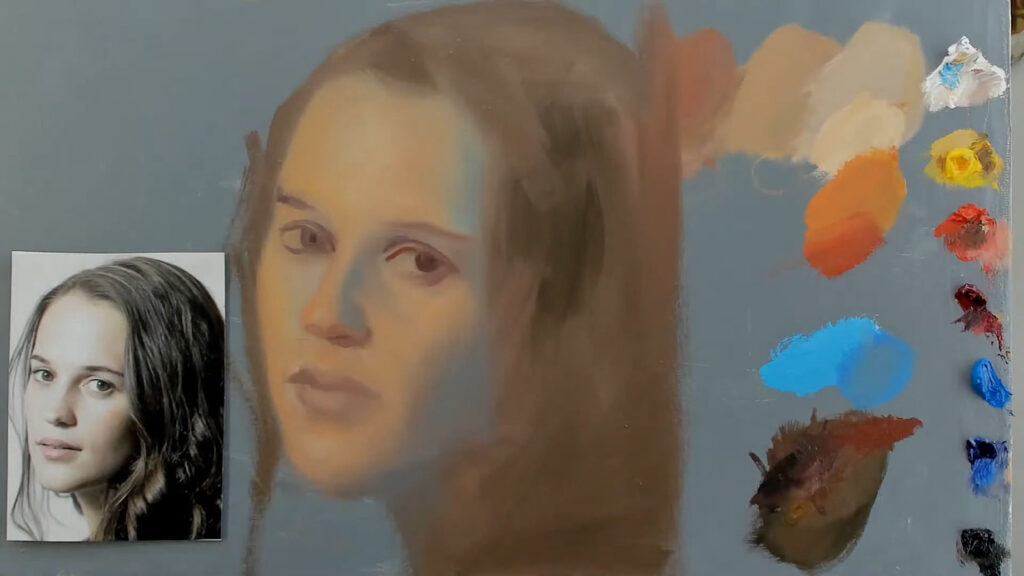
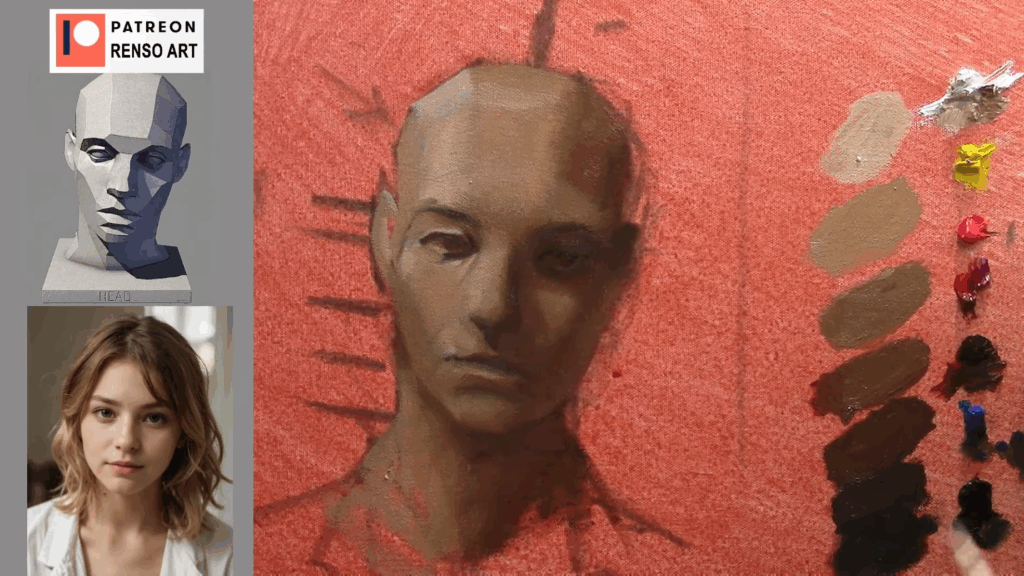
Step Three: From Shapes to Forms
Once I have those flat shapes on the canvas or paper, the next step is to think in three dimensions. I begin turning those flat shapes into basic volumes—the head as a box or an egg, the nose as a wedge, the neck as a cylinder.
This transition from 2D to 3D thinking is crucial. It helps us understand how the head sits in space and how light interacts with its surface. Painting isn’t just copying what you see—it’s interpreting what you see through your knowledge of form.
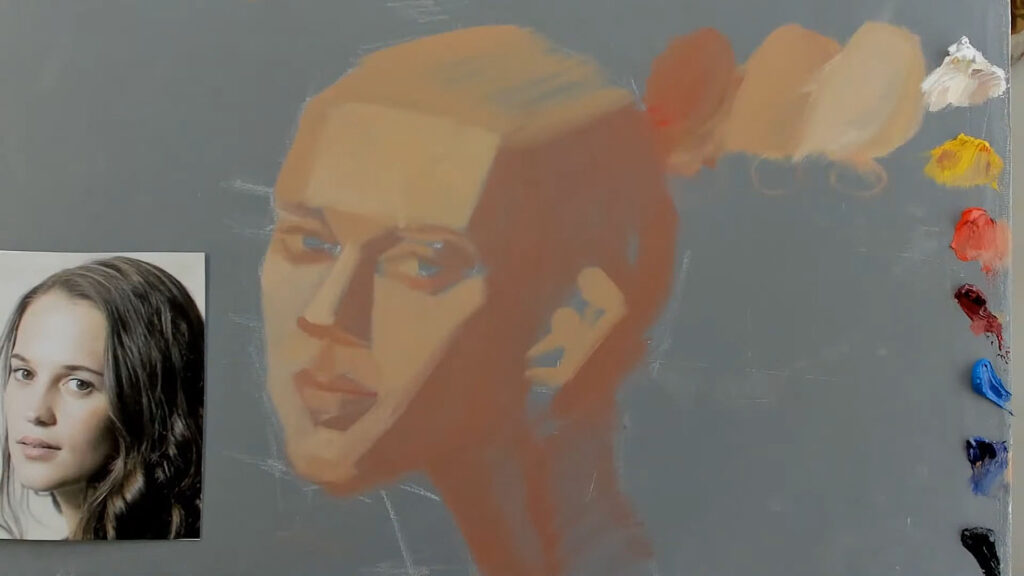
In this stage, I’m not yet thinking about fine details like eyelashes or wrinkles. I’m asking:
- What is the orientation of this form?
- Is this surface facing the light or turning away from it?
- What kind of shape best describes this part of the face?
These questions help me build a solid sculptural foundation.
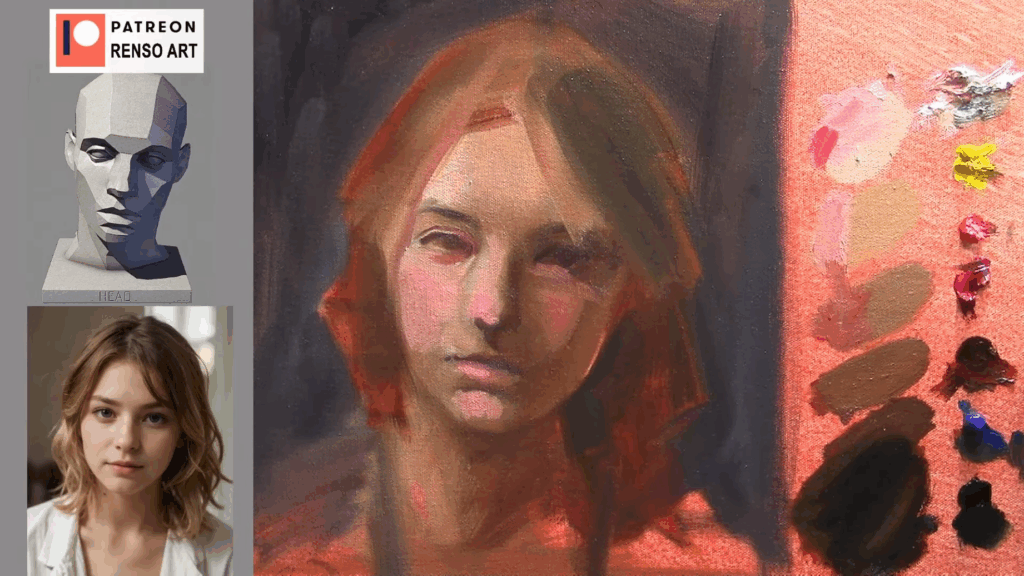
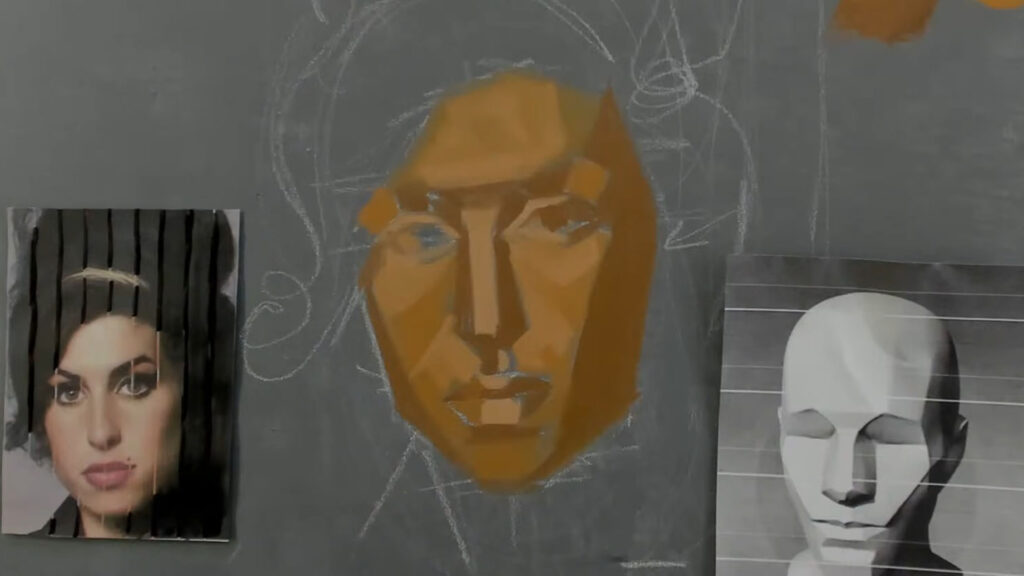
Why This Matters
This whole process—from flat shapes, to simple forms, to planes of the face—helps build a portrait that is solid, readable, and full of life. It keeps us from getting lost in unnecessary detail, and gives us a clear roadmap for moving forward in each stage of the painting.
Beginners often worry about matching colors or rendering perfectly, but without structure underneath, all of that falls apart. When we take the time to simplify and understand form, our portraits become stronger, no matter what medium we use.
🖌️ Practice This With Me Live!
In my Thursday night Live Paint-Along Portrait Classes, we follow this exact approach step-by-step. We start with a clear block-in using flat shapes, then model simple forms, and finally explore how light moves across the planes of the face. Each session is a complete portrait, and we build skills week by week.
👁️ You’ll learn to see like a painter, not just copy photos.
🎨 You’ll understand how to use simplification to improve every stage of your process.
🧠 And most importantly, you’ll gain confidence in how you build a portrait—from the first stroke to the final detail.
P.S. If you’re working on your portraits, my e-book “Portrait Painting Tips” might help. It’s full of tips I use with my students.