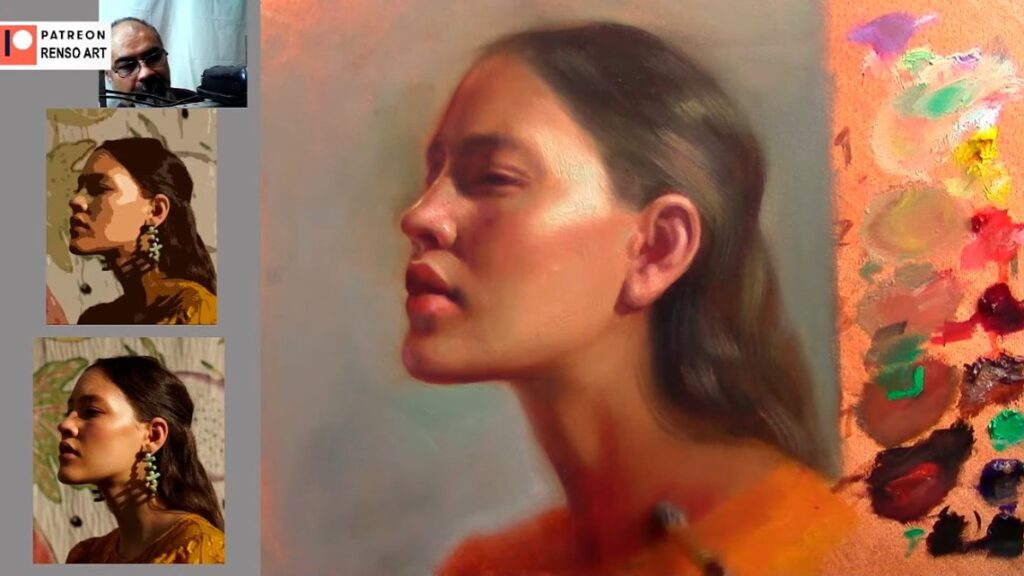
The Art of Portrait Painting – A Journey of Light, Color, and Patience

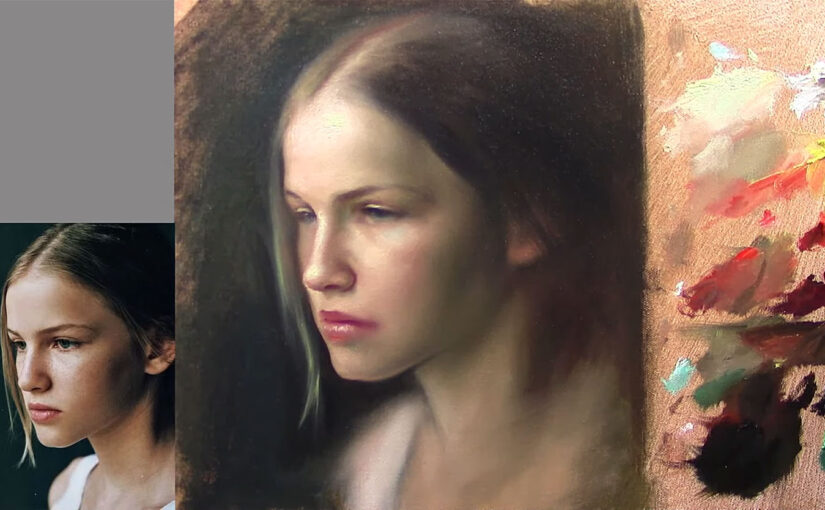
Portrait painting is more than just capturing a likeness; it’s about telling a story through light, color, and emotion. In a recent live stream, I embarked on the journey of painting a portrait of a beautiful woman, and the process was both challenging and deeply rewarding. From selecting the right colors to adjusting proportions and refining details, every step was a lesson in patience, precision, and the art of bringing a face to life on canvas.


The Starting Point: Colors and Composition

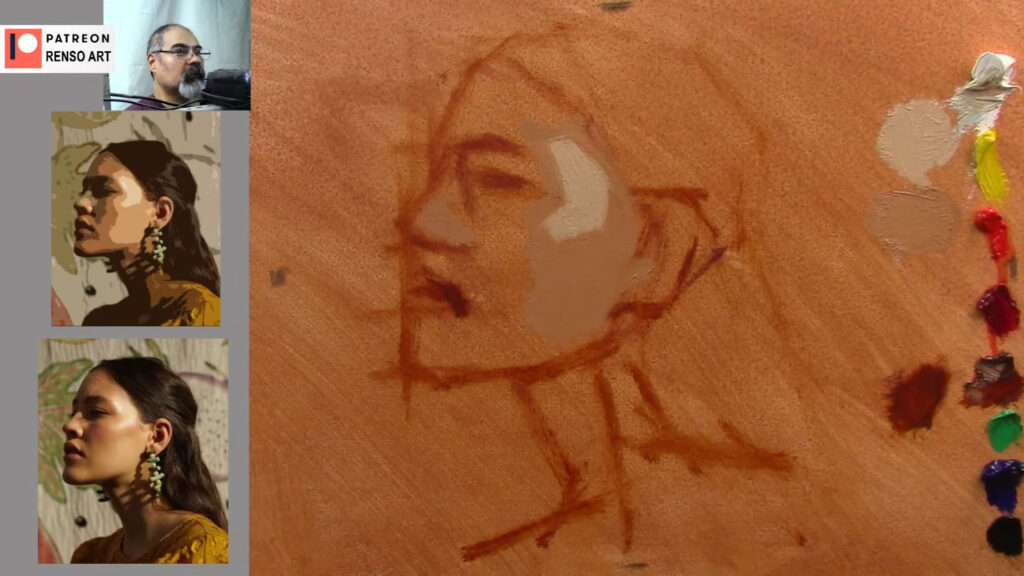
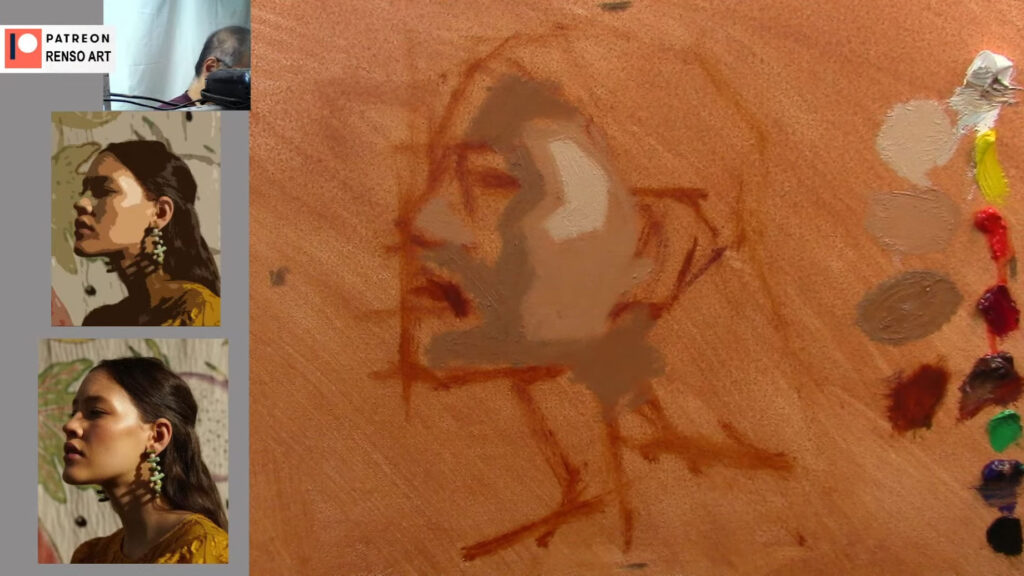
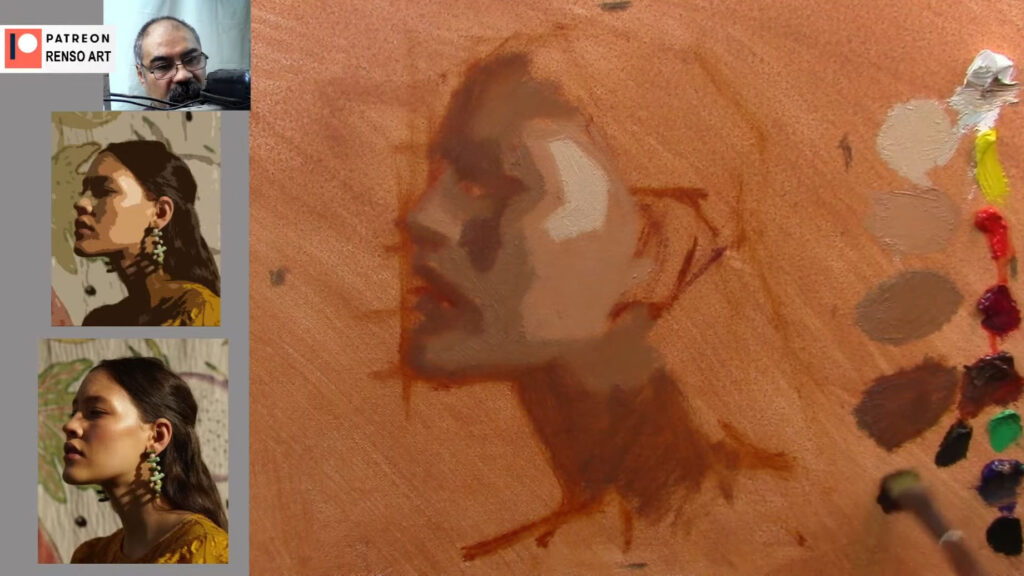
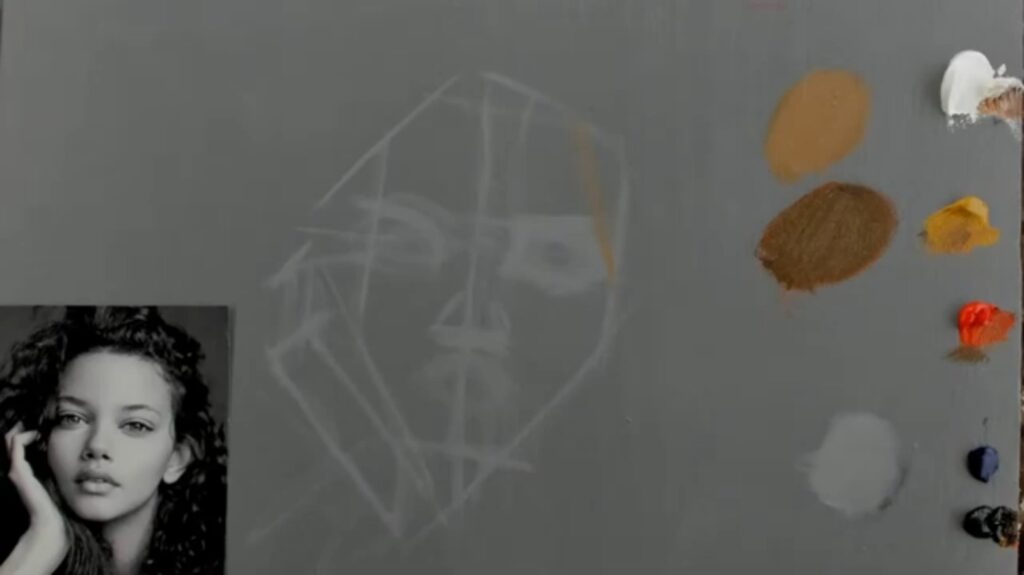
I began by selecting my palette: titanium white, yellow ocher, cadmium red, ultramarine blue, ivory black, cadmium yellow, and alizarin crimson. These colors form the foundation of any portrait, allowing me to create a range of skin tones, shadows, and highlights. The initial sketch was simple—just an oval shape to map out the head and a few lines to establish the basic proportions. This stage is crucial because it sets the groundwork for the entire painting.

Using a synthetic brush number 10, I mixed a light gray with a touch of linseed oil and turpentine to create a smooth base for the drawing. The goal was to simplify the shapes and focus on the overall structure of the face and hand, which were central to the composition.
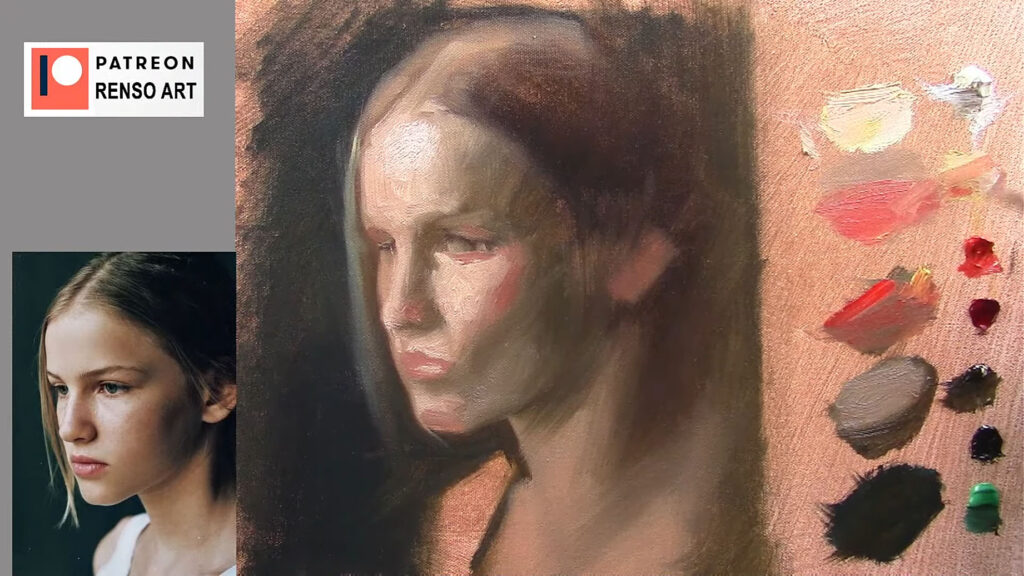
oil portrait painting

The Process: Building Layers and Adjusting Proportions

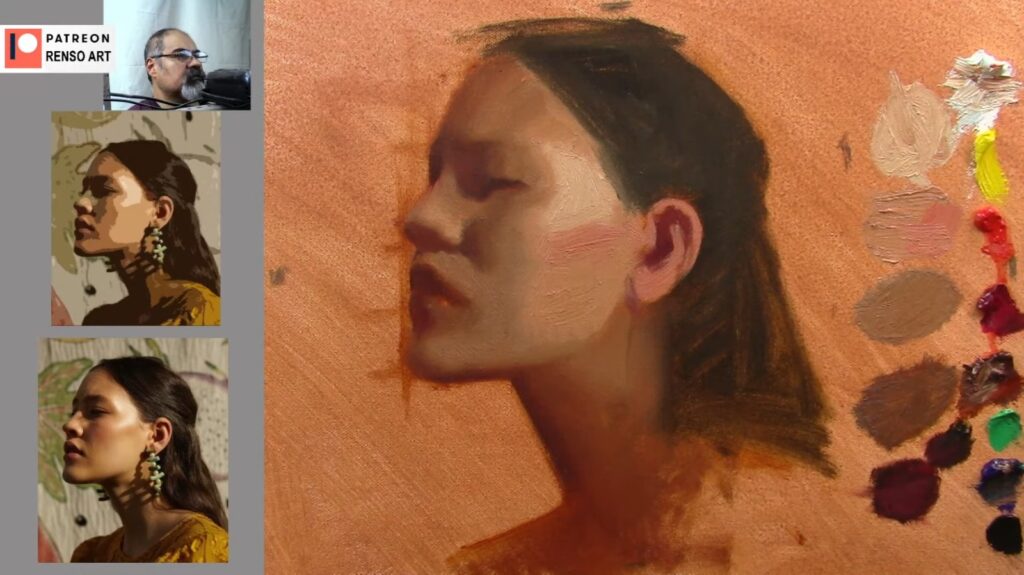
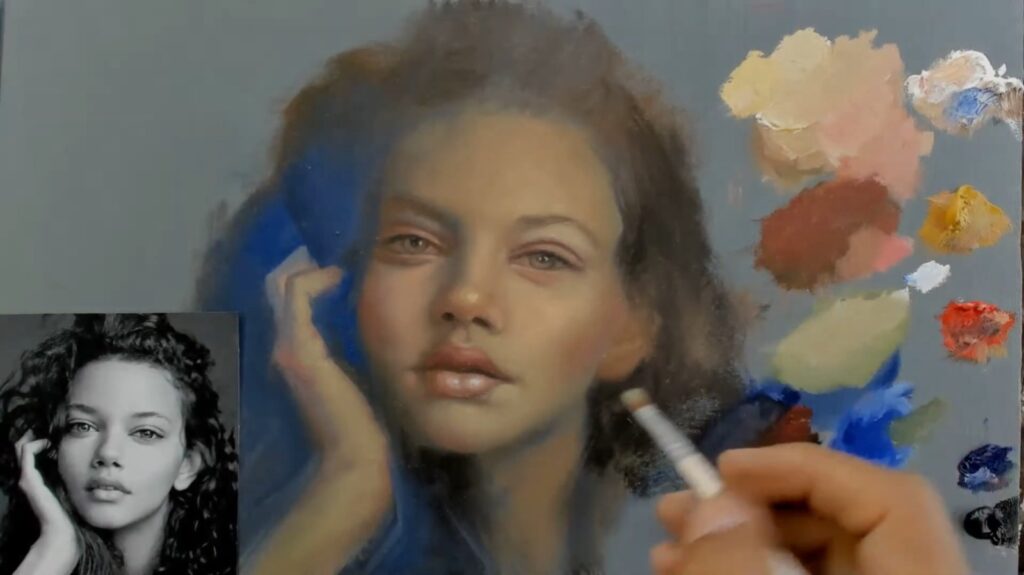
Portrait painting is a constant dance between accuracy and artistry. As I progressed, I noticed that some areas needed adjustment. The eyes, for example, are one of the most striking features of any portrait, and getting their placement right is essential. I used a combination of brushes to achieve the right texture, switching between a round brush for detail work and a softer brush for blending.

One of the most important aspects of portrait painting is understanding how light interacts with the subject. In this case, the light was coming from the left, casting soft shadows on the right side of the face. I focused on creating smooth transitions between light and shadow to mimic the natural glow of the skin.

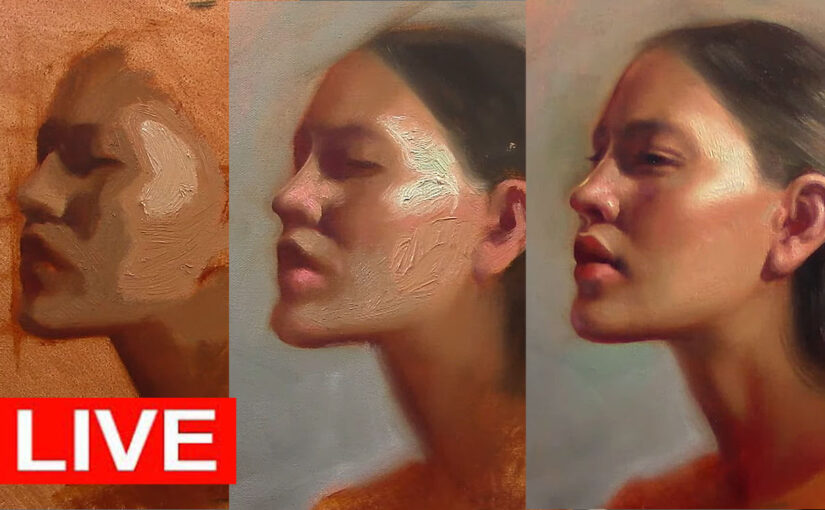
oil portrait painting

The Details: Bringing the Portrait to Life

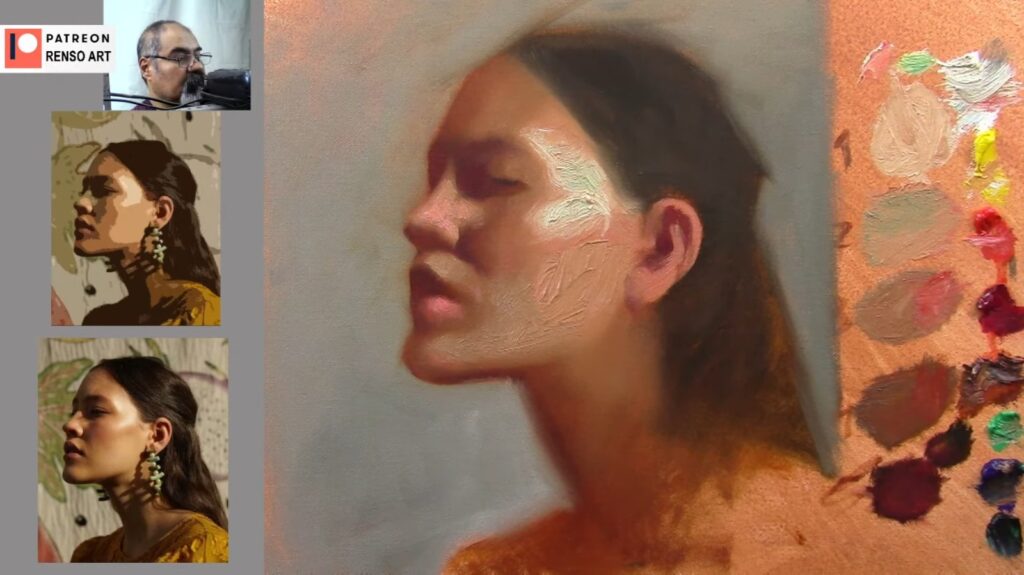
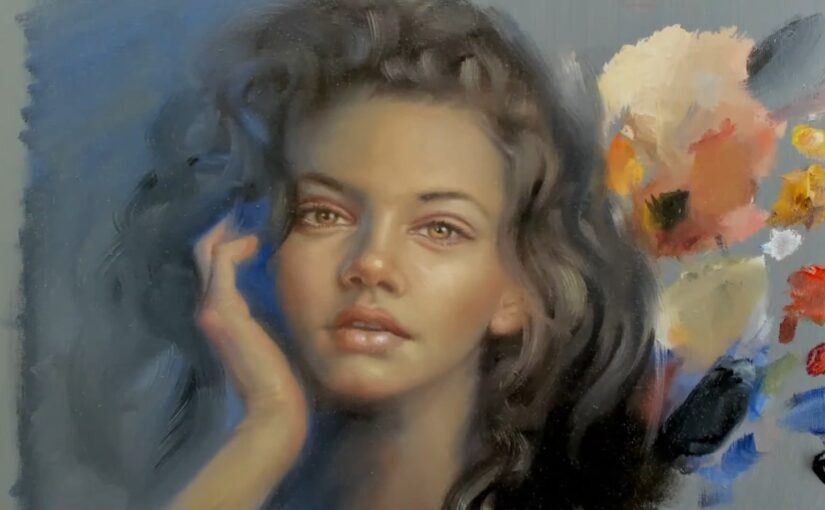
As the painting began to take shape, I focused on the finer details—the eyes, nose, and mouth. These features are the focal points of any portrait, and getting them right is essential. I used a small liner brush to define the eyes, carefully painting the iris and adding highlights to give them a lifelike sparkle. The lips required a delicate touch, with subtle shifts in color to capture their softness and shape.

One of the most rewarding parts of the process was painting the hair. I used a combination of raw umber and alizarin crimson to create depth and texture. The flow of the hair added a sense of movement to the portrait, making it feel more dynamic and alive.

oil portrait painting

The Final Touches: Refining and Reflecting

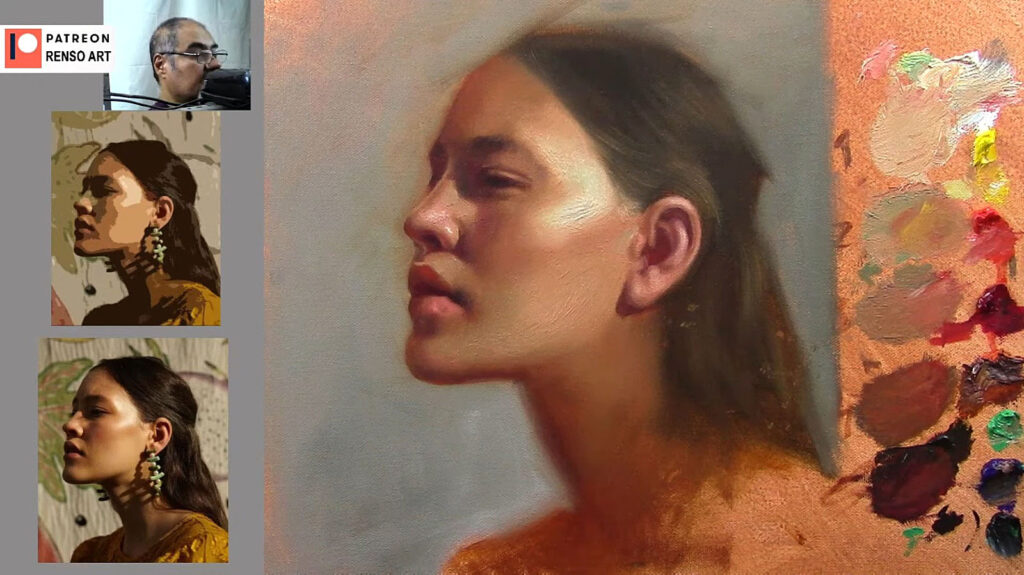
As I neared the end of the painting, I stepped back to assess the overall composition. I made a few final adjustments, darkening some areas to increase contrast and adding highlights to bring out the lightest parts of the face. I also softened some edges to create a more natural look, ensuring that the transitions between light and shadow were smooth and seamless.

Throughout the process, I was reminded of the importance of patience and persistence. Portrait painting is not about achieving perfection in one stroke; it’s about building up layers, making adjustments, and refining the details until the portrait comes to life. It’s a journey that requires both technical skill and a deep connection to the subject.

oil portrait painting

Conclusion: The Beauty of the Process

In the end, the portrait was a reflection of not just the photograph, but also the time, effort, and emotion I poured into it. The softness of the skin, the warmth of the colors, and the gentle expression all came together to create a piece that felt alive.

Painting a portrait is more than just a technical exercise—it’s a way of connecting with the subject, of capturing their essence on canvas. It’s a process that requires both skill and intuition, and it’s one that I find endlessly rewarding.

If you’re interested in watching the full process, you can check out the live stream on my YouTube channel. And if you’re inspired to try portrait painting yourself, remember to be patient, trust the process, and most importantly, enjoy the journey.
oil portrait painting

Q&A Section

Q: From Michonne – Do you always sketch before painting?
A: Yes, I usually start with a rough sketch to establish proportions. It helps me map out the face and ensure everything is in the right place before adding color.

Q: From Nikki – How do you decide where to place highlights?
A: I look at the light source in the reference photo. For this portrait, the light was coming from the left, so I added highlights on the left side of the face, nose, and lips to create a natural glow.

Q: From Manuel – Do you use black in your mixtures?
A: I do, but sparingly. Black can be too strong and can dull colors if overused. I often mix it with other colors to create deeper, richer shadows without losing vibrancy.

Q: From Jay Kishan – How many brushes do you use in a session?
A: I typically use around 8-10 brushes, depending on the level of detail. I have a mix of round brushes for details and softer brushes for blending.

Q: From Christine – How do you keep your brushes clean?
A: I clean them regularly with a paper towel or cloth. For frayed brushes, I repurpose them for blending, as they work great for creating soft transitions.

oil portrait painting

Thank you for joining me on this artistic adventure. Until next time, keep creating and exploring the beauty of art.
Mastering Edges in Oil Portrait Painting: A Guide to Creating Realism and Depth

When it comes to painting a portrait in oils, one of the most overlooked yet essential skills is mastering edges. Edges refer to the transitions between shapes, colors, and values in your painting. They can be hard, soft, or lost, and how you handle them can make or break the realism of your portrait. Hard edges draw attention and create focus, while soft edges suggest depth and subtlety. Lost edges, where two shapes blend seamlessly, can add mystery and atmosphere.

In this blog post, we’ll explore why edges are so important in portrait painting, how to identify and control them, and practical tips for using them to create lifelike, dynamic portraits. Plus, don’t forget to watch the accompanying video demo, where I’ll walk you through the process of painting a portrait with a focus on mastering edges!


Why Are Edges Important in Portrait Painting?

Edges play a crucial role in creating realism and guiding the viewer’s eye through your painting. Here’s why they matter:

  1. They Create Depth and Realism: Hard edges appear closer to the viewer, while soft edges recede into the background. This helps create a sense of three-dimensionality.
  2. They Direct Focus: Sharp, hard edges draw attention to key areas like the eyes, while soft edges keep less important areas from competing for attention.
  3. They Add Atmosphere and Mood: Lost edges can create a sense of mystery or softness, adding emotional depth to your portrait.

In the video demo, I’ll show you how to use edges to bring your portrait to life.


Edges in Oil Portrait Painting

Types of Edges in Portrait Painting

Understanding the different types of edges is the first step to mastering them:

  1. Hard Edges: These are sharp, well-defined transitions between shapes or values. Use them for areas you want to emphasize, like the eyes or the outline of the nose.
  2. Soft Edges: These are gradual transitions that suggest movement or depth. Use them for areas like the cheeks, where the light gently fades into shadow.
  3. Lost Edges: These occur when two shapes blend so seamlessly that the edge disappears. Use them to create a sense of unity or to suggest subtle transitions, like where the hair meets the background.

In the video, I demonstrate how to identify and paint each type of edge in a portrait.


Edges in Oil Portrait Painting

How to Control Edges in Oil Painting

Controlling edges in oil painting requires a combination of observation, technique, and practice. Here are some tips to help you master edges:

  1. Observe Your Reference Carefully: Look for hard, soft, and lost edges in your reference photo or subject. Pay attention to how light and shadow affect the transitions between shapes.
  2. Use the Right Brushwork:
  • For hard edges, use a firm brushstroke with minimal blending.
  • For soft edges, use a softer brush and blend gently with a dry brush or your finger.
  • For lost edges, allow the colors to blend naturally on the canvas.
  1. Work from General to Specific: Start with soft edges to establish the overall form, then add hard edges for detail and focus.
  2. Step Back Frequently: View your painting from a distance to see how the edges are working together. This will help you maintain a balanced composition.

In the video demo, I’ll show you how to apply these techniques step by step.


Edges in Oil Portrait Painting

Common Mistakes to Avoid

  1. Overusing Hard Edges: Too many hard edges can make your painting look flat and cartoonish. Use them sparingly to emphasize key areas.
  2. Ignoring Soft Edges: Failing to soften edges where needed can make your portrait look stiff and unnatural.
  3. Overblending: While soft edges are important, overblending can make your painting look muddy. Use a light touch and let the paint do the work.

Watch the Video Demo!

In the video, I’ll walk you through the entire process of painting a portrait with a focus on mastering edges. You’ll see how I:

  • Analyze the reference photo for edge types.
  • Block in the portrait with soft edges to establish the overall form.
  • Add hard edges to define key features like the eyes, nose, and mouth.
  • Use lost edges to create subtle transitions and atmospheric effects.

This demo is perfect for artists of all levels who want to improve their edge control and create more realistic, dynamic portraits.


Edges in Oil Portrait Painting

Tips for Practicing Edges

  1. Do Edge Studies: Practice painting simple shapes (like spheres or cubes) with different types of edges. This will help you understand how light and shadow affect edges.
  2. Experiment with Brushwork: Try using different brushes and techniques to create hard, soft, and lost edges.
  3. Study Master Paintings: Look at how the Old Masters used edges to create depth and realism. Pay attention to how they balanced hard and soft edges in their portraits.

Edges in Oil Portrait Painting

Conclusion

Mastering edges is one of the most powerful tools you can add to your portrait painting toolkit. By understanding how to control hard, soft, and lost edges, you can create portraits that are not only realistic but also full of depth, focus, and emotion.

I hope this blog post and video demo inspire you to focus on edges in your own work. Don’t forget to watch the video to see these concepts in action, and let me know in the comments how you plan to apply these tips to your next portrait!

Happy painting! 🎨✨


The Importance of Values in Portrait Painting: A Comprehensive Guide to Mastering Light and Shadow

Creating a compelling portrait is one of the most rewarding challenges an artist can undertake. But what separates a flat, lifeless portrait from one that feels alive and three-dimensional? The answer lies in understanding and mastering values. Values—the lightness or darkness of a color—are the backbone of any successful painting. They define the structure of the face, create depth, and bring realism to your work. Even if your colors are vibrant and accurate, a portrait with poorly executed values will lack impact.

In this blog post, we’ll dive deep into the importance of values in portrait painting. We’ll explore what values are, why they matter, and how to use them effectively to create stunning, realistic portraits. Plus, don’t forget to watch the accompanying video demo, where I’ll walk you through the entire process of painting a portrait with a strong focus on values. Whether you’re a beginner or an experienced artist, this guide will help you elevate your portrait painting skills.


What Are Values, and Why Are They So Important?

Values refer to how light or dark a color is, regardless of its hue. In portrait painting, values are essential because they define the form and structure of the face. Here’s why they matter:

  1. They Create Depth and Dimension: Values help distinguish between the planes of the face, making it look three-dimensional. Without proper values, a portrait can appear flat and lifeless.
  2. They Establish Contrast: The interplay of light and shadow adds drama and interest to your painting. Strong contrasts can make your portrait more dynamic and engaging.
  3. They Guide the Viewer’s Eye: Well-defined value patterns can direct attention to the focal points of your portrait, such as the eyes or mouth.
  4. They Simplify Complexity: By breaking down the face into light and dark shapes, values help you simplify complex features and focus on the big picture.

In the video demo, I’ll show you how to use values to transform a flat sketch into a realistic, three-dimensional portrait.

The Importance of Values in Portrait Painting

How to See and Understand Values

Training your eye to see values is a skill that takes practice, but it’s absolutely essential for creating realistic portraits. Here are some tips to help you develop this skill:

  1. Squint Your Eyes: Squinting simplifies the image, allowing you to see the major light and dark shapes without getting distracted by details. This is a great way to identify the overall value structure of a face.
  2. Use a Black-and-White Reference: Converting your reference photo to grayscale removes the distraction of color, making it easier to focus on values. You can also use a grayscale filter on your phone or computer to help with this.
  3. Identify the Light Source: Determine where the light is coming from and how it affects the planes of the face. This will help you understand where the highlights, midtones, and shadows should be.
  4. Practice Value Studies: Spend time drawing or painting portraits using only black, white, and gray. This will help you focus on values without the added complexity of color.

In the video, I’ll demonstrate how I analyze values in a reference photo and translate them into my painting.

The Importance of Values in Portrait Painting

The Value Structure of a Portrait

To paint a realistic portrait, it’s helpful to break down the face into a simple value structure. Here’s how I approach it:

  1. Light Areas: These are the parts of the face that catch the most light, such as the forehead, cheekbones, nose, and chin. These areas will have the lightest values in your painting.
  2. Midtones: These are the transitional areas between light and shadow, such as the sides of the face, the lower cheeks, and the area around the mouth. Midtones help create a smooth transition between light and dark.
  3. Shadow Areas: These are the parts of the face that receive little to no light, such as the eye sockets, under the nose, under the chin, and the sides of the neck. These areas will have the darkest values in your painting.

By simplifying the face into these three value groups, you can create a strong foundation for your portrait. Once the basic value structure is in place, you can refine the details and add subtle shifts in value to create a more realistic effect.


The Importance of Values in Portrait Painting

Common Mistakes to Avoid

Even experienced artists can struggle with values from time to time. Here are some common mistakes to watch out for:

  1. Overcomplicating Values: Beginners often try to include too many subtle shifts in value, which can make the painting look muddy and overworked. Start with broad value shapes and refine later.
  2. Ignoring the Light Source: Inconsistent lighting can make your portrait look unnatural. Always keep the light source in mind and ensure that your highlights and shadows are consistent.
  3. Relying Too Much on Color: Color can be deceptive. A vibrant color might still be dark in value, so always check your values independently of color.
  4. Neglecting Edges: The transition between light and shadow (also known as the edge) is just as important as the values themselves. Soft edges create a sense of realism, while hard edges can add drama and focus.

In the video demo, I’ll show you how to avoid these mistakes and create a balanced, realistic portrait.

The Importance of Values in Portrait Painting

Watch the Video Demo!

In the video, I’ll walk you through the entire process of painting a portrait with a strong focus on values. You’ll see how I:

  • Analyze the reference photo for value patterns.
  • Block in the major light and shadow areas.
  • Refine the values to create a realistic, three-dimensional effect.
  • Add subtle details and transitions to bring the portrait to life.

This demo is perfect for artists of all levels who want to improve their understanding of values and take their portrait painting to the next level.

The Importance of Values in Portrait Painting

Tips for Practicing Values in portrait painting

  1. Do Value Studies: Practice painting or drawing portraits using only black, white, and gray. This will help you focus on values without the distraction of color.
  2. Use a Limited Palette: When working with color, limit your palette to avoid overwhelming yourself. This will help you concentrate on value relationships.
  3. Study Master Paintings: Look at how the Old Masters used values to create depth and realism in their portraits. Pay attention to how they simplified complex forms into light and shadow.
  4. Experiment with Lighting: Try painting the same subject under different lighting conditions to see how it affects the values.

The Importance of Values in Portrait Painting

Conclusion

Mastering values is one of the most important skills you can develop as an artist. It’s the key to creating portraits that feel alive, three-dimensional, and full of depth. By understanding how light interacts with the planes of the face and simplifying complex forms into basic value shapes, you can take your portrait painting to the next level.

I hope this blog post and video demo inspire you to focus on values in your own work. Don’t forget to watch the video to see these concepts in action, and let me know in the comments how you plan to apply these tips to your next portrait!

Happy painting! – Values in portrait painting🎨✨

The Importance of Values in Portrait Painting