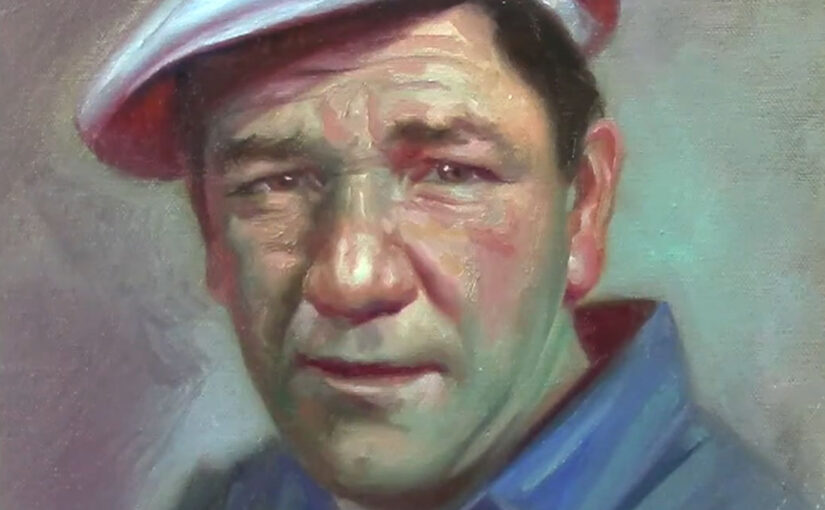
The Importance of Values in Portrait Painting: A Comprehensive Guide to Mastering Light and Shadow

Struggling with your portraits? You might find my E-book helpful. Click here

Creating a compelling portrait is one of the most rewarding challenges an artist can undertake. But what separates a flat, lifeless portrait from one that feels alive and three-dimensional? The answer lies in understanding and mastering values. Values—the lightness or darkness of a color—are the backbone of any successful painting. They define the structure of the face, create depth, and bring realism to your work. Even if your colors are vibrant and accurate, a portrait with poorly executed values will lack impact.

In this blog post, we’ll dive deep into the importance of values in portrait painting. We’ll explore what values are, why they matter, and how to use them effectively to create stunning, realistic portraits. Plus, don’t forget to watch the accompanying video demo, where I’ll walk you through the entire process of painting a portrait with a strong focus on values. Whether you’re a beginner or an experienced artist, this guide will help you elevate your portrait painting skills.


What Are Values, and Why Are They So Important?

Values refer to how light or dark a color is, regardless of its hue. In portrait painting, values are essential because they define the form and structure of the face. Here’s why they matter:

  1. They Create Depth and Dimension: Values help distinguish between the planes of the face, making it look three-dimensional. Without proper values, a portrait can appear flat and lifeless.
  2. They Establish Contrast: The interplay of light and shadow adds drama and interest to your painting. Strong contrasts can make your portrait more dynamic and engaging.
  3. They Guide the Viewer’s Eye: Well-defined value patterns can direct attention to the focal points of your portrait, such as the eyes or mouth.
  4. They Simplify Complexity: By breaking down the face into light and dark shapes, values help you simplify complex features and focus on the big picture.

In the video demo, I’ll show you how to use values to transform a flat sketch into a realistic, three-dimensional portrait.
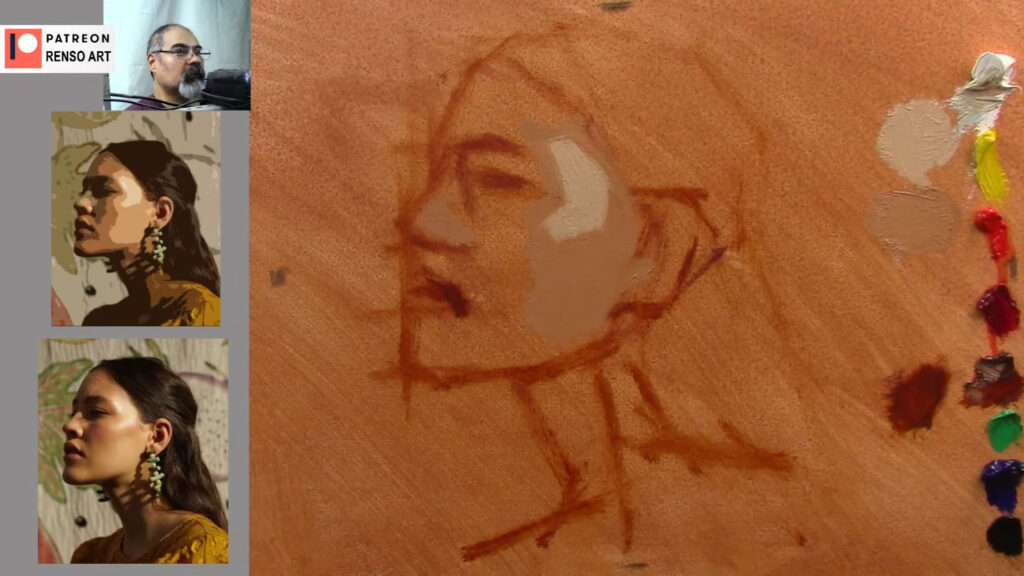
The Importance of Values in Portrait Painting

How to See and Understand Values

Training your eye to see values is a skill that takes practice, but it’s absolutely essential for creating realistic portraits. Here are some tips to help you develop this skill:

  1. Squint Your Eyes: Squinting simplifies the image, allowing you to see the major light and dark shapes without getting distracted by details. This is a great way to identify the overall value structure of a face.
  2. Use a Black-and-White Reference: Converting your reference photo to grayscale removes the distraction of color, making it easier to focus on values. You can also use a grayscale filter on your phone or computer to help with this.
  3. Identify the Light Source: Determine where the light is coming from and how it affects the planes of the face. This will help you understand where the highlights, midtones, and shadows should be.
  4. Practice Value Studies: Spend time drawing or painting portraits using only black, white, and gray. This will help you focus on values without the added complexity of color.

In the video, I’ll demonstrate how I analyze values in a reference photo and translate them into my painting.
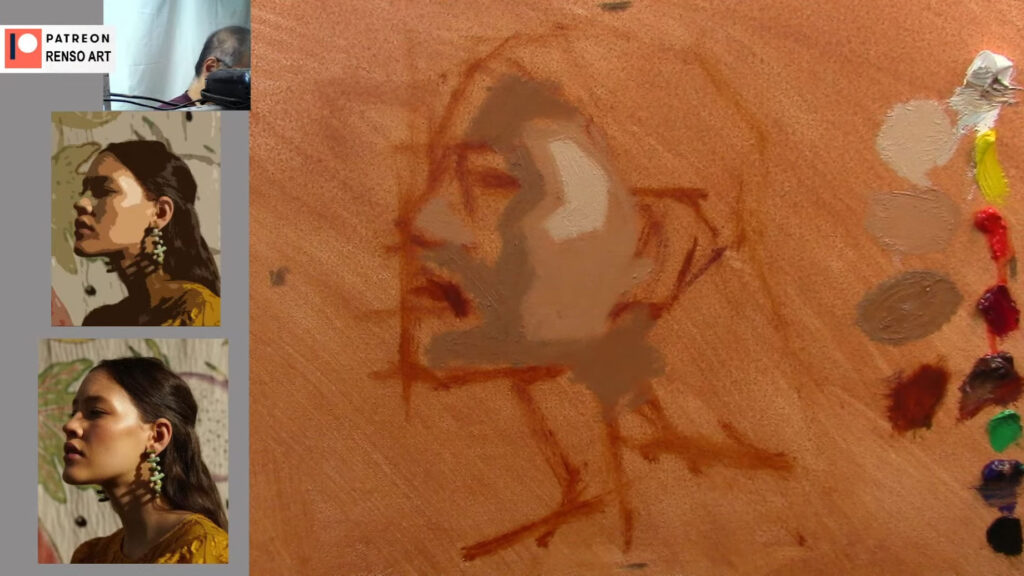
The Importance of Values in Portrait Painting

The Value Structure of a Portrait

To paint a realistic portrait, it’s helpful to break down the face into a simple value structure. Here’s how I approach it:

  1. Light Areas: These are the parts of the face that catch the most light, such as the forehead, cheekbones, nose, and chin. These areas will have the lightest values in your painting.
  2. Midtones: These are the transitional areas between light and shadow, such as the sides of the face, the lower cheeks, and the area around the mouth. Midtones help create a smooth transition between light and dark.
  3. Shadow Areas: These are the parts of the face that receive little to no light, such as the eye sockets, under the nose, under the chin, and the sides of the neck. These areas will have the darkest values in your painting.

By simplifying the face into these three value groups, you can create a strong foundation for your portrait. Once the basic value structure is in place, you can refine the details and add subtle shifts in value to create a more realistic effect.
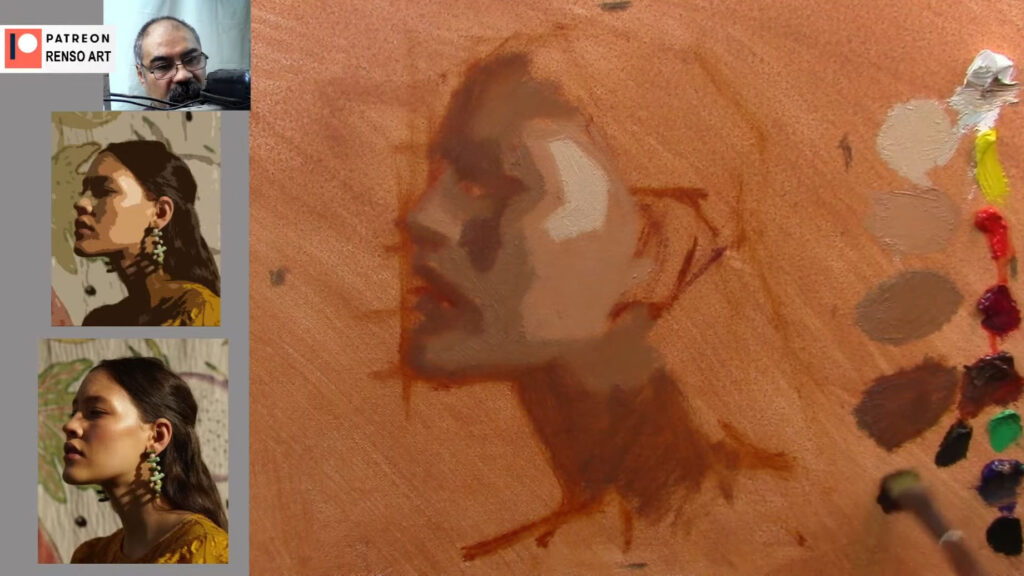

The Importance of Values in Portrait Painting

Common Mistakes to Avoid

Even experienced artists can struggle with values from time to time. Here are some common mistakes to watch out for:

  1. Overcomplicating Values: Beginners often try to include too many subtle shifts in value, which can make the painting look muddy and overworked. Start with broad value shapes and refine later.
  2. Ignoring the Light Source: Inconsistent lighting can make your portrait look unnatural. Always keep the light source in mind and ensure that your highlights and shadows are consistent.
  3. Relying Too Much on Color: Color can be deceptive. A vibrant color might still be dark in value, so always check your values independently of color.
  4. Neglecting Edges: The transition between light and shadow (also known as the edge) is just as important as the values themselves. Soft edges create a sense of realism, while hard edges can add drama and focus.

In the video demo, I’ll show you how to avoid these mistakes and create a balanced, realistic portrait.
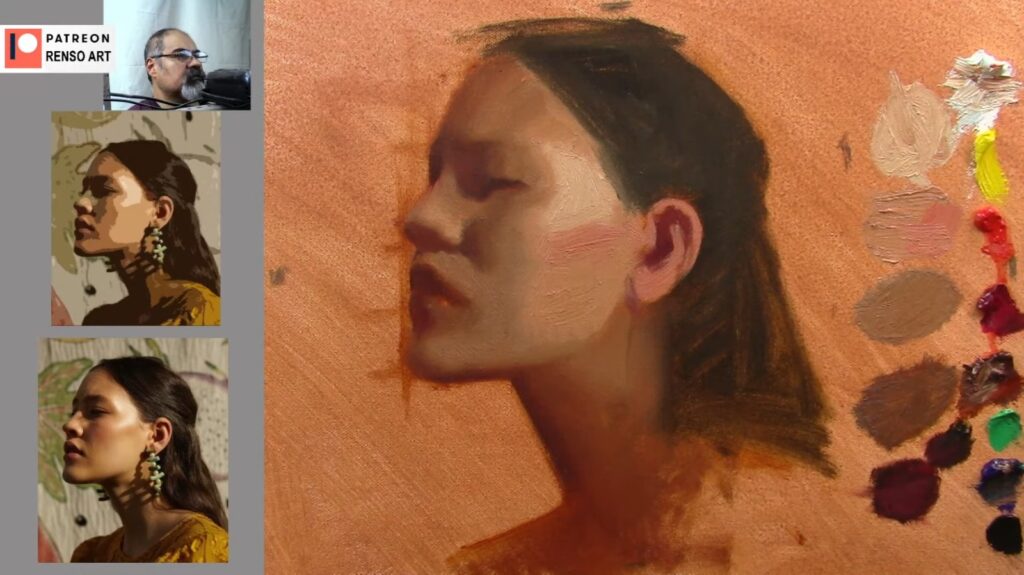
The Importance of Values in Portrait Painting

Watch the Video Demo!

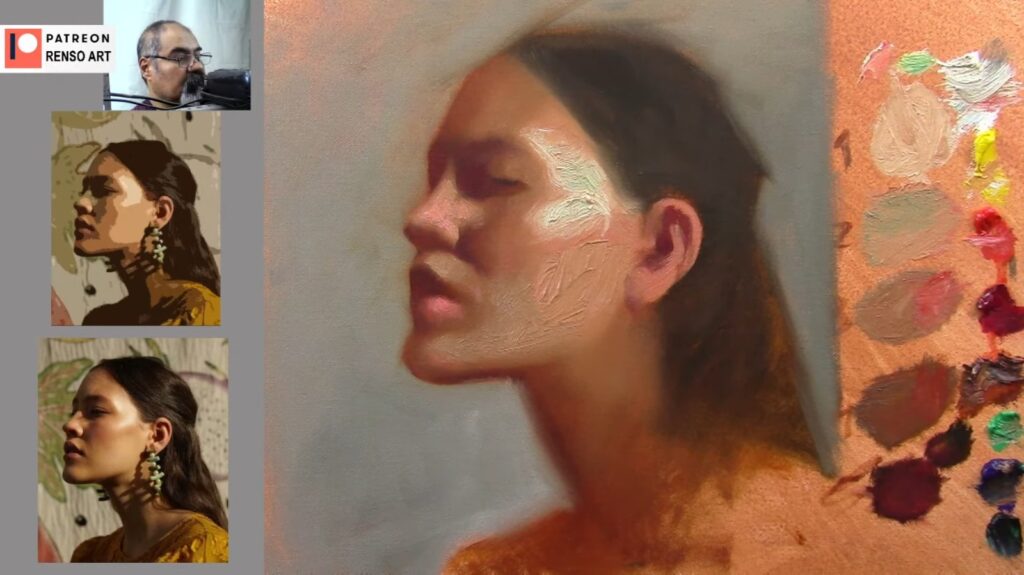
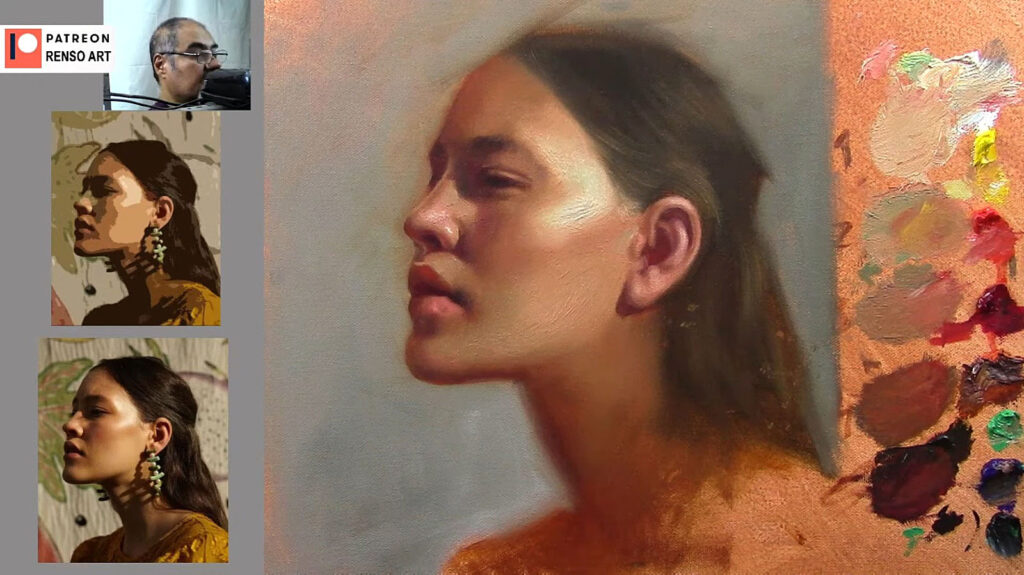
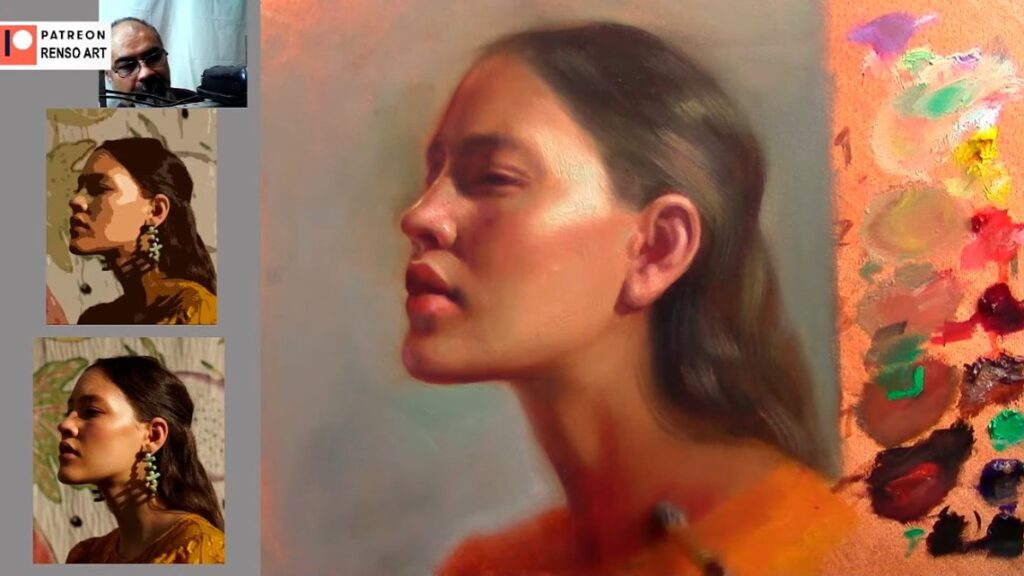
In the video, I’ll walk you through the entire process of painting a portrait with a strong focus on values. You’ll see how I:

  • Analyze the reference photo for value patterns.
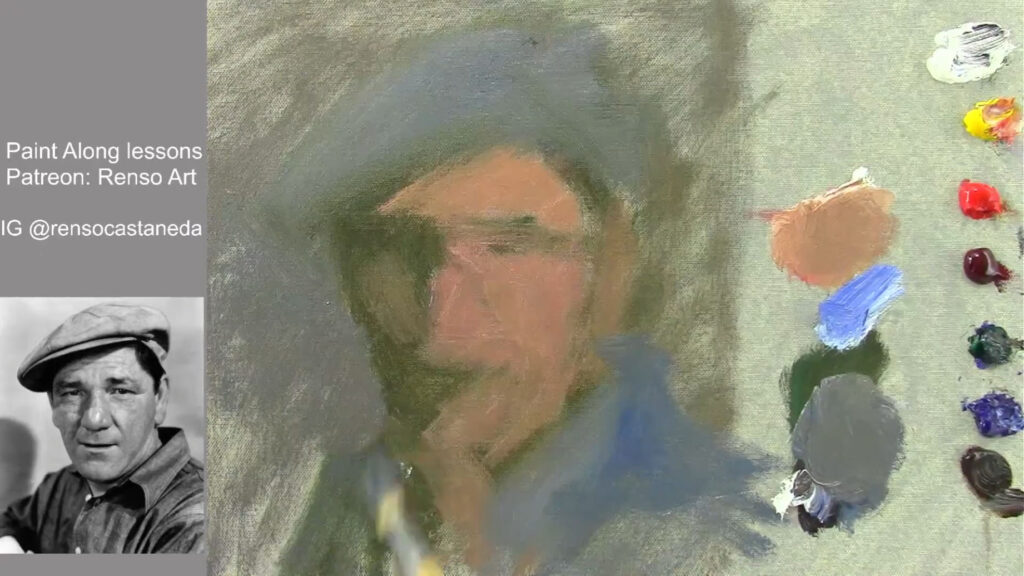
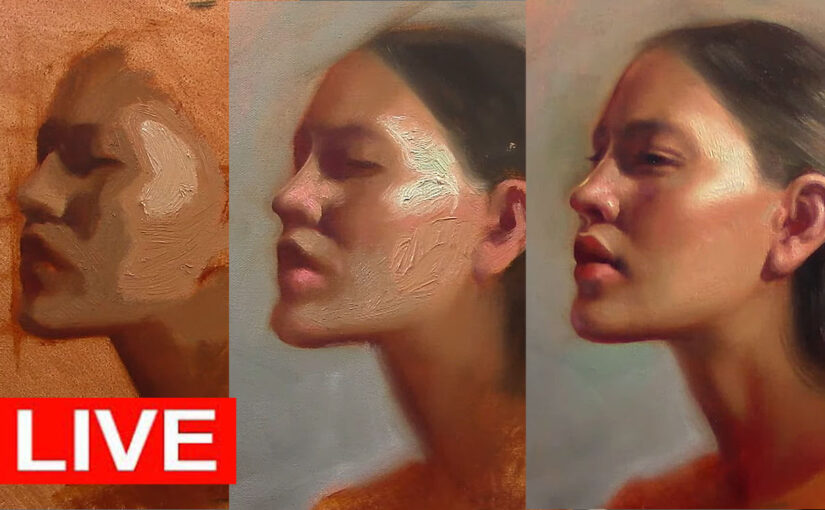
  • Block in the major light and shadow areas.
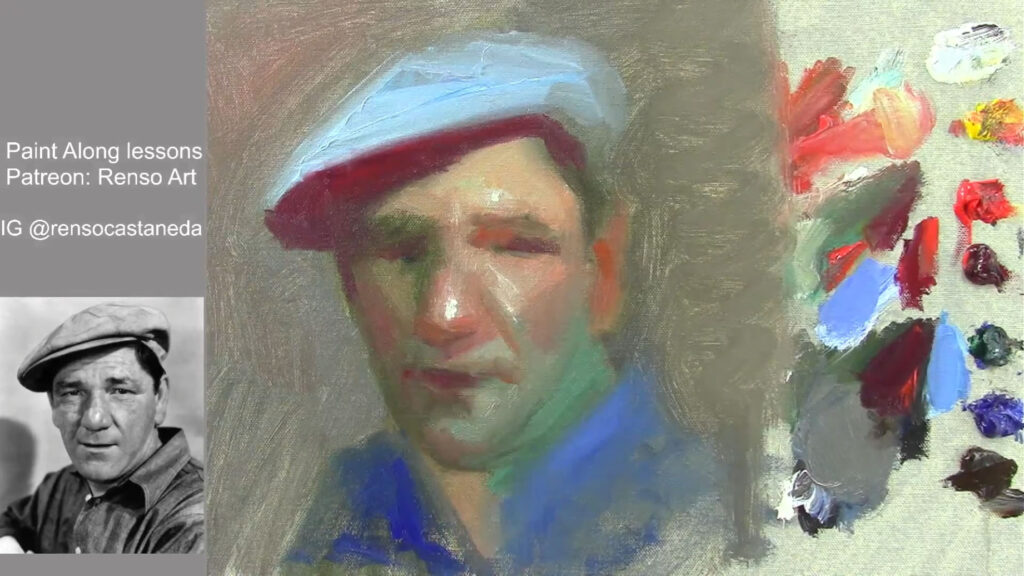
  • Refine the values to create a realistic, three-dimensional effect.
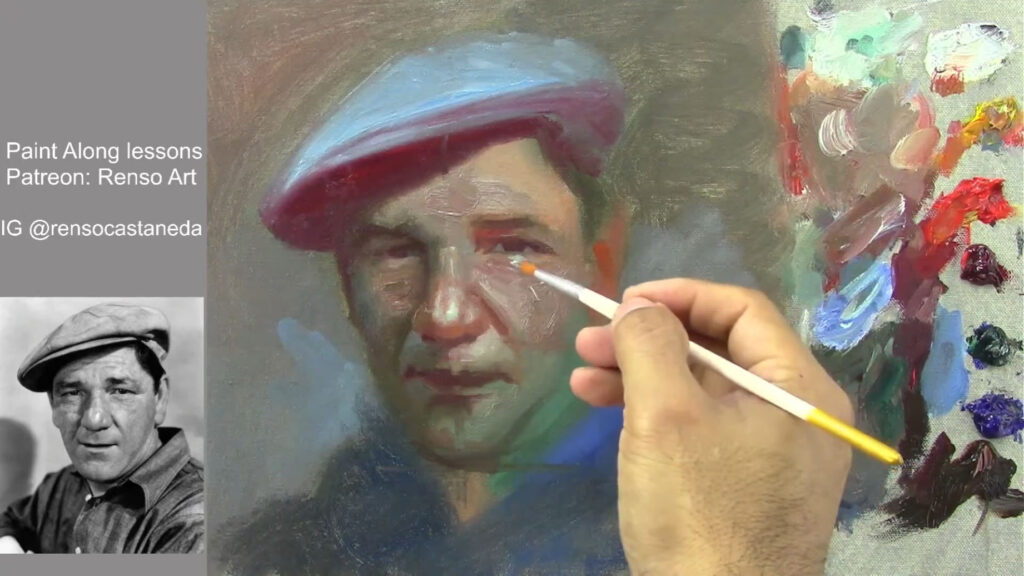
  • Add subtle details and transitions to bring the portrait to life.

This demo is perfect for artists of all levels who want to improve their understanding of values and take their portrait painting to the next level.
The Importance of Values in Portrait Painting

Tips for Practicing Values in portrait painting

  1. Do Value Studies: Practice painting or drawing portraits using only black, white, and gray. This will help you focus on values without the distraction of color.
  2. Use a Limited Palette: When working with color, limit your palette to avoid overwhelming yourself. This will help you concentrate on value relationships.
  3. Study Master Paintings: Look at how the Old Masters used values to create depth and realism in their portraits. Pay attention to how they simplified complex forms into light and shadow.
  4. Experiment with Lighting: Try painting the same subject under different lighting conditions to see how it affects the values.
The Importance of Values in Portrait Painting

Conclusion

Mastering values is one of the most important skills you can develop as an artist. It’s the key to creating portraits that feel alive, three-dimensional, and full of depth. By understanding how light interacts with the planes of the face and simplifying complex forms into basic value shapes, you can take your portrait painting to the next level.

I hope this blog post and video demo inspire you to focus on values in your own work. Don’t forget to watch the video to see these concepts in action, and let me know in the comments how you plan to apply these tips to your next portrait!

Happy painting! – Values in portrait painting🎨✨
The Importance of Values in Portrait Painting

How to paint a Portrait with Water Mixable Oils

Struggling with your portraits? You might find my E-book helpful. Click here

Painting a portrait is a rewarding artistic endeavor, and using water mixable oils makes the process more accessible and less messy than traditional oils. Whether you’re a beginner or an intermediate artist, this guide will walk you through the steps to create a stunning portrait using water-mixable oils. Plus, we’ve included a helpful video tutorial to guide you visually!


Why Choose Water Mixable Oils?

Water mixable oils combine the rich, blendable qualities of traditional oils with the convenience of water-based paints. Here’s why they’re great for portraits:

  • Easy Cleanup: Clean your brushes with water instead of harsh solvents.
  • Low Odor: Perfect for artists who are sensitive to the strong smell of traditional oils.
  • Versatility: Can be used thickly like traditional oils or thinned with water for a watercolor-like effect.
  • Drying Time: They dry faster than traditional oils but still allow for blending and reworking.

Materials You’ll Need

Before you start, gather these materials:

  • Water mixable oil paints (basic colors: titanium white,cad yellow, cad red, alizarin crimson, burnt umber, ultramarine blue, ivory black).
  • Brushes (a variety of sizes, including fine detail brushes).
  • Canvas or primed painting surface.
  • Palette for mixing colors.
  • Water for thinning and cleaning.
  • Paper towels or rags.
  • Optional: Mediums like water mixable linseed oil for added flow. I just use water on the video.

Step 1: Prepare Your Workspace

Set up your canvas on an easel or flat surface. Ensure you have good lighting to see the details of your subject. Lay out your paints, brushes, and water containers within easy reach.

Step 2: Choose a Reference Photo

Select a clear, high-resolution photo of your subject. Pay attention to the lighting and expression, as these will influence the mood of your portrait. If you’re new to portraiture, choose a photo with simple lighting and minimal shadows.


Step 3: Sketch the Outline

Using a pencil or a thin brush with diluted paint, lightly sketch the basic shapes of the face. Focus on the placement of the eyes, nose, mouth, and ears. Don’t worry about details at this stage—just establish the proportions and composition.


Portrait with Water Mixable Oils

Step 4: Block in the Base Colors

Start by applying thin layers of paint to block in the main colors of the face, hair, and background. Use larger brushes for this step and keep the paint diluted with water for easier application. Focus on the overall shapes and avoid getting bogged down in details.

Portrait with Water Mixable Oils

Step 5: Build Up the Layers

Once the base layer is dry (water-mixable oils dry faster than traditional oils, but you can still blend for a few hours), begin adding more layers to define the features. Use smaller brushes for details like the eyes, nose, and lips. Pay attention to the shadows and highlights to create depth and dimension.


Step 6: Refine the Details

As you progress, refine the details of the face. Add texture to the skin, define the hair, and enhance the expression. Use a fine brush for intricate areas like the eyelashes and eyebrows. Don’t forget to step back occasionally to assess the overall balance of your portrait.

Portrait with Water Mixable Oils

Step 7: Add the Background

The background should complement the subject without overpowering it. Use softer colors and less detail to keep the focus on the face. You can blend the edges of the portrait into the background for a seamless look.


Step 8: Final Touches

Review your portrait and make any final adjustments. Add highlights to the eyes and lips to bring them to life. Soften any harsh lines and ensure the skin tones are blended smoothly. Sign your work in the corner once you’re satisfied.


Portrait with Water Mixable Oils

Tips for Success

  • Work from General to Specific: Start with broad shapes and gradually add details.
  • Use a Limited Palette: Mixing fewer colors will help maintain harmony in your portrait.
  • Experiment with Water: Use more water for a translucent effect or less for thicker, impasto textures.
  • Practice Patience: Allow layers to dry before adding new details to avoid muddy colors.

Video Tutorial

To make this process even easier, we’ve created a step-by-step video tutorial! Watch as we demonstrate each stage of painting a portrait with water-mixable oils, from the initial sketch to the final touches. Follow along and pause as needed to work at your own pace.

Portrait with Water Mixable Oils

Conclusion

Painting a portrait with water-mixable oils is a fulfilling experience that combines the richness of oil paints with the convenience of water-based mediums. With practice and patience, you’ll be able to create lifelike, expressive portraits that capture the essence of your subject. Don’t forget to share your finished work in the comments below—we’d love to see your creations!

Happy painting! 🎨✨

The Anatomy of the Face: A Guide for Artists

Struggling with your portraits? You might find my E-book helpful. Click here

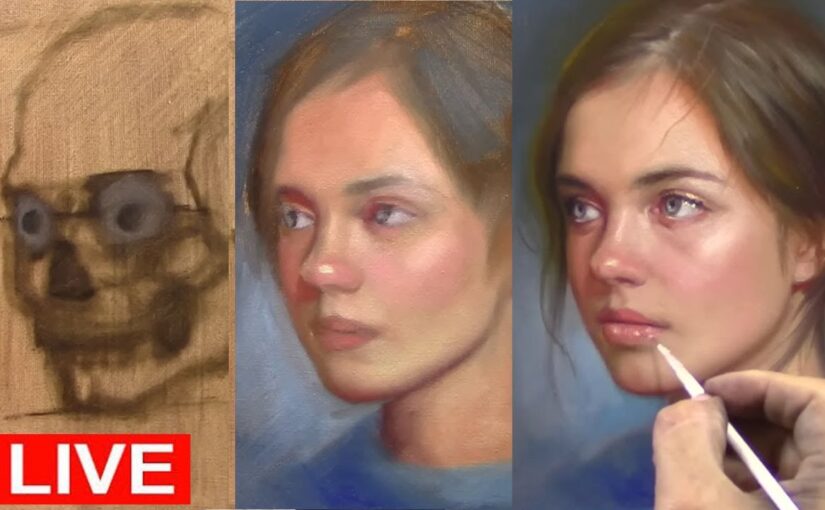
Creating a realistic portrait is more than just capturing the surface features—it’s about understanding what lies beneath. As an artist, studying the anatomy of the face is crucial for achieving accuracy, depth, and realism in your work. Recently, I painted an oil portrait starting with a detailed skull drawing and building the face on top. This process reminded me how essential facial anatomy is to creating lifelike art. In this article, we’ll explore the key elements of facial anatomy and how you can use this knowledge to improve your portraits.


Why Study the Anatomy of the face?

Understanding the anatomy of the face allows you to:

  • Create Realistic Proportions: Knowing the underlying structure helps you place features correctly.
  • Add Depth and Dimension: By visualizing the bones and muscles, you can better depict light, shadow, and form.
  • Capture Expressions: Muscles are responsible for facial movements, so understanding them helps you convey emotion.
  • Build Confidence: When you know what’s beneath the skin, you can paint or draw with greater accuracy and intention.

The Foundation: The Skull

The skull is the framework of the face. Its shape determines the overall structure, proportions, and placement of facial features. Here are the key parts of the skull to focus on:

  1. Cranium: The rounded top part of the skull that houses the brain.
  2. Orbit (Eye Sockets): The hollow spaces where the eyes sit. Their shape affects the appearance of the eyes and eyebrows.
  3. Nasal Cavity: The bony structure that supports the nose.
  4. Zygomatic Bones (Cheekbones): These bones create the prominence of the cheeks.
  5. Maxilla and Mandible (Upper and Lower Jaw): These bones define the shape of the mouth and chin.

When starting a portrait, sketching the skull first can help you establish the correct proportions and placement of features.


The Muscles of the Face

The muscles of the face are responsible for expressions and give the face its shape and movement. Here are the most important ones for artists to know:

  1. Frontalis: Located in the forehead, this muscle raises the eyebrows and creates horizontal lines.
  2. Orbicularis Oculi: Surrounds the eyes and controls blinking and squinting.
  3. Zygomaticus Major and Minor: These muscles pull the corners of the mouth upward, creating a smile.
  4. Orbicularis Oris: Encircles the mouth and controls lip movements like puckering or closing.
  5. Masseter: A strong muscle in the jaw that helps with chewing and defines the jawline.
  6. Buccinator: Located in the cheeks, this muscle helps with chewing and creates the rounded shape of the cheeks.

Understanding these muscles helps you depict expressions and add realism to your portraits.


Key Features and Their Anatomy

Let’s break down the major facial features and their underlying anatomy:

Eyes

  • The eyes sit within the orbits (eye sockets) and are protected by the eyelids.
  • The eyeball itself is spherical, but only a portion is visible.
  • The eyelids have thickness and cast shadows, which are important to capture.

Nose

  • The nose is supported by the nasal bones and cartilage.
  • The bridge of the nose is bony, while the tip and nostrils are softer and more flexible.
  • Shadows under the nose and along the sides are key to creating depth.

Mouth

  • The mouth is shaped by the orbicularis oris muscle and supported by the teeth and jaw.
  • The upper lip often has a slight “M” shape, while the lower lip is fuller.
  • Pay attention to the philtrum (the groove above the upper lip) and the shadows around the mouth.

Ears

  • The ears are made up of cartilage and have a complex shape with ridges and folds.
  • They align with the brow line at the top and the base of the nose at the bottom.

How to Practice Facial Anatomy

  1. Study the Skull
    Draw or paint the skull from different angles to understand its structure.
  2. Observe Muscle Movement
    Watch how facial expressions change the shape of the face. Use a mirror or reference photos.
  3. Layer Your Work
    Start with a skull sketch, then add muscles, and finally build the skin and features on top.
  4. Use Anatomical References
    Invest in anatomy books or use online resources to study the face in detail.
  5. Practice Consistently
    Incorporate anatomical studies into your regular art practice.

Applying Anatomy in Your Art

When I painted my recent oil portrait, I began with a skull drawing. This helped me establish the proportions and placement of the features. As I added layers of paint, I kept the underlying anatomy in mind, ensuring that the face had depth and structure.

Here are some tips for applying the anatomy of the face in your work:

  • Start with the Skull: Use it as a guide for proportions and feature placement.
  • Visualize the Muscles: Think about how they shape the face and create expressions.
  • Focus on Shadows and Highlights: Use light to emphasize the three-dimensional structure of the face.
  • Keep Practicing: The more you study anatomy, the more intuitive it will become.

Conclusion

The anatomy of the face is the foundation of great portraiture. By understanding the skull, muscles, and features, you can create artwork that is not only accurate but also full of life and emotion. Whether you’re painting in oils, drawing, or sculpting, taking the time to study anatomy will elevate your art to the next level.

So, grab your sketchbook, study those bones and muscles, and watch your portraits come to life! 🎨✨